Tag Archives: frag leather corals
How to Frag Leather Corals
A good friend and fellow hobbyist asked me for a frag from one of my corals that he has really liked for a while now. As I was getting the frag for him, I thought I would take the time to show how I prefer to frag leather corals.This is not the only way to frag a coral, but it is the way that I find the easiest for both me and the coral.
Step – 1 Plan the frag
By this I mean you should decide what part of the leather you want to frag. In this instance, there is a small growth near the base of the blue mushrooms coral on the left hand side (as pictured below). I could have chosen almost any part of this leather to frag and it really would not have mattered too much, but that small growth just seamed it would be easier to frag.
Step Two – Remove and Frag the leather
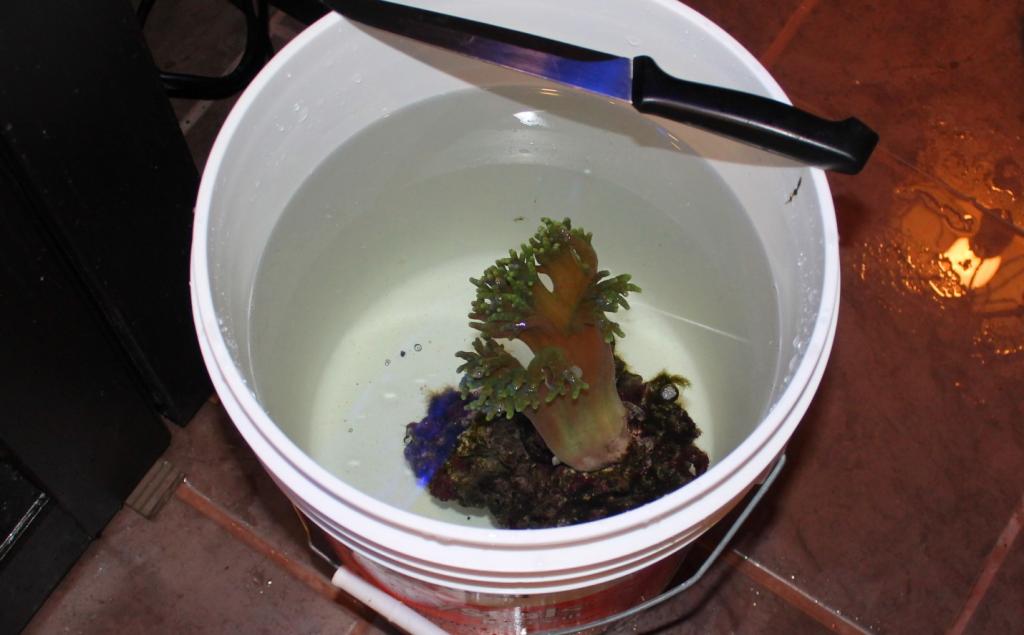
It is always best if you can remove the leather from the aquarium when you frag it. In this case I had removed the leather and the rock it was sitting on and placed it in a 5 gallon pale of tank water.There are two reasons for doing this. The first is that leathers can release toxins when being fragged, and the second is that you can add a coral treatment to the container to help the coral heal faster.Many others have successfully fragged leathers while still in the display tank.I have always been able to remove mine for fragging so I have always done that.
Step three – Frag it
This is simply cutting a part of the coral off from the rest of the coral. Make sure you use a very sharp razor or butcher’s knife and cut the peace off in one smooth and gentle motion.Remove the frag to a second container of water and leave the leather in the current container. Add a good quality coral treatment to both containers to help the corals heal the damaged areas. Once the main coral has had about 10 minutes in the coral treatment, you can replace it to your main display tank. I would also suggest having fresh carbon running on your set-up to remove any toxins the leather might release.
Step four – Attach the frag
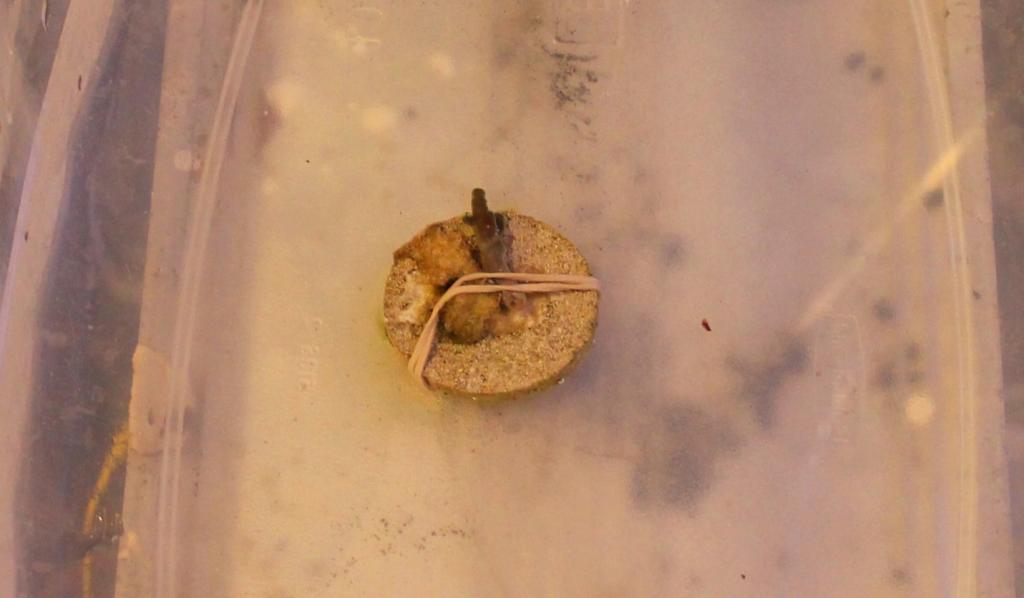
In my experience, you have to let leathers naturally attach themselves to something.Every time I have tried an approach that involved glues or any other type of method, I found the leather will just produce extra slime coating and become detached within a day or two. I have the best success by using a rubber band to gently hold the frag to a frag plug or piece of rock. You want just enough pressure to hold the frag in place, any more and you could cause the frag to divide into two smaller pieces and both becoming detached.
You don’t have to worry about attaching the frag so it sits up-right as it will grow up-wards towards the light in no time at all.
Step 5 – Return the frag
I always like returning the frag to the display tank as soon as it had about 10 minutes in the other container with a coral treatment. I will place the frag in a lower area of the aquarium with low flow to help the leather attach to the frag plug. In my experience, it takes about two to three weeks for the frag to attach to the plug assuming it is not getting stressed by crabs (or other critters) and it’s lighting and water quality needs are being met.
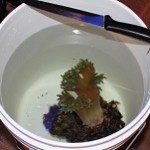
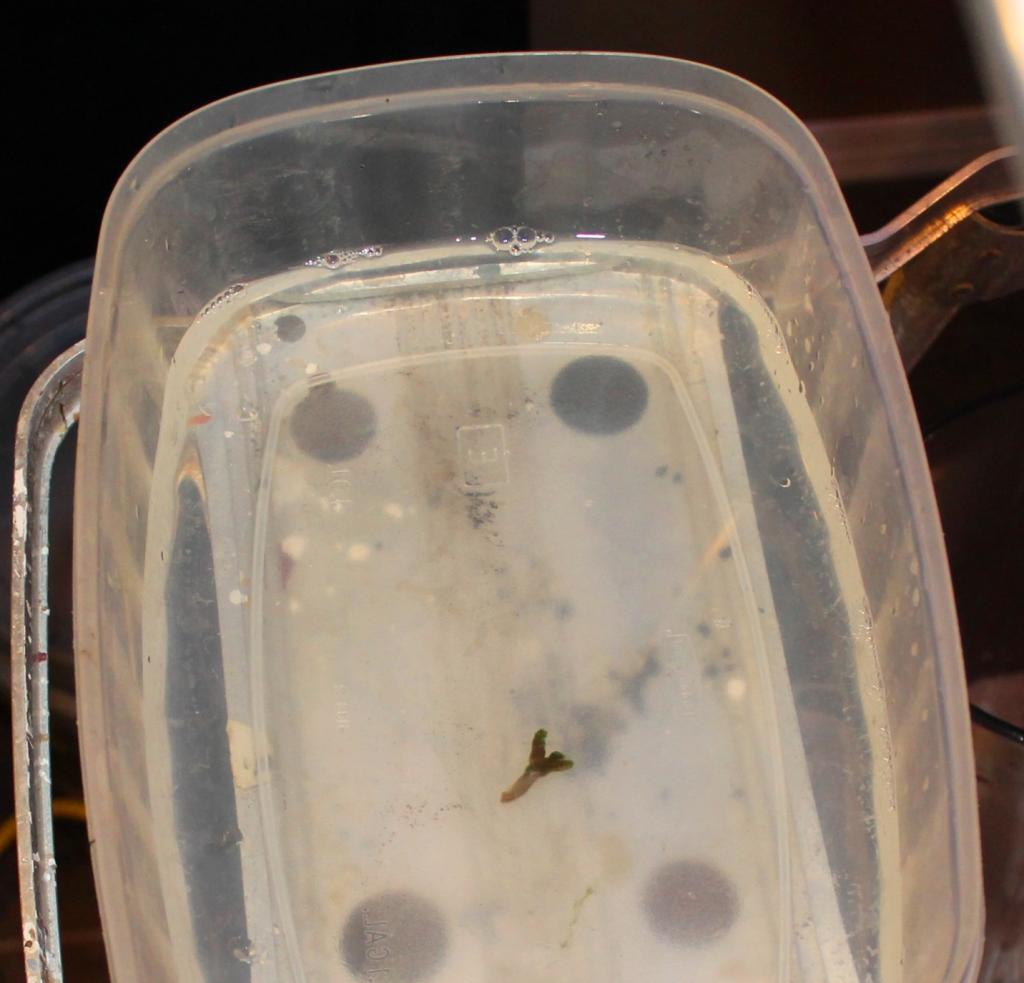
The below picture of the frag was taken after one day after being fragged
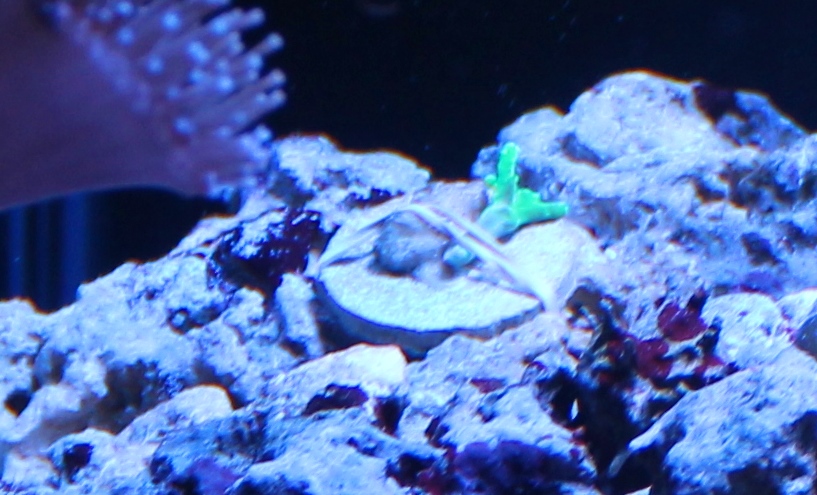
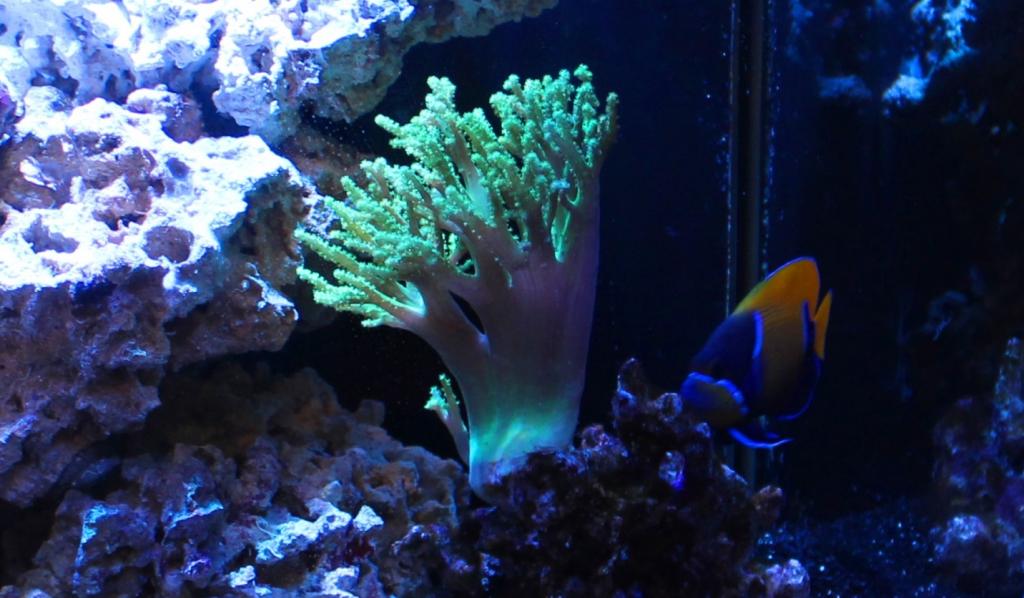
The below was taken four days after being fragged. You can see the leather is starting to turn up-wards towards the light and is also starting to extend its polyps.

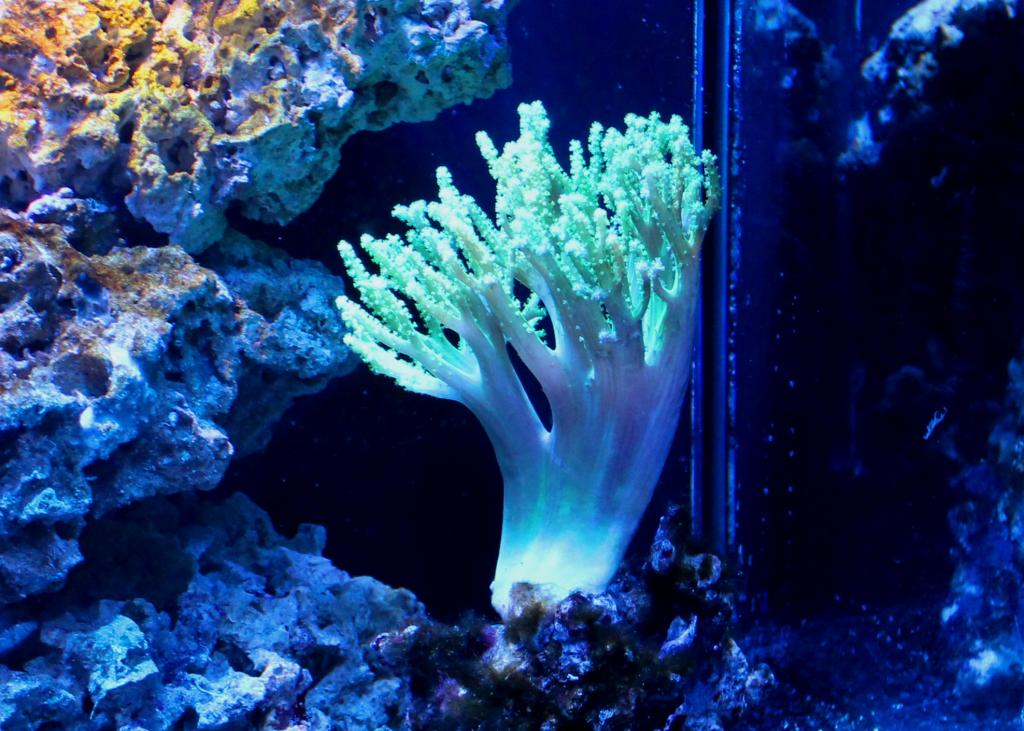
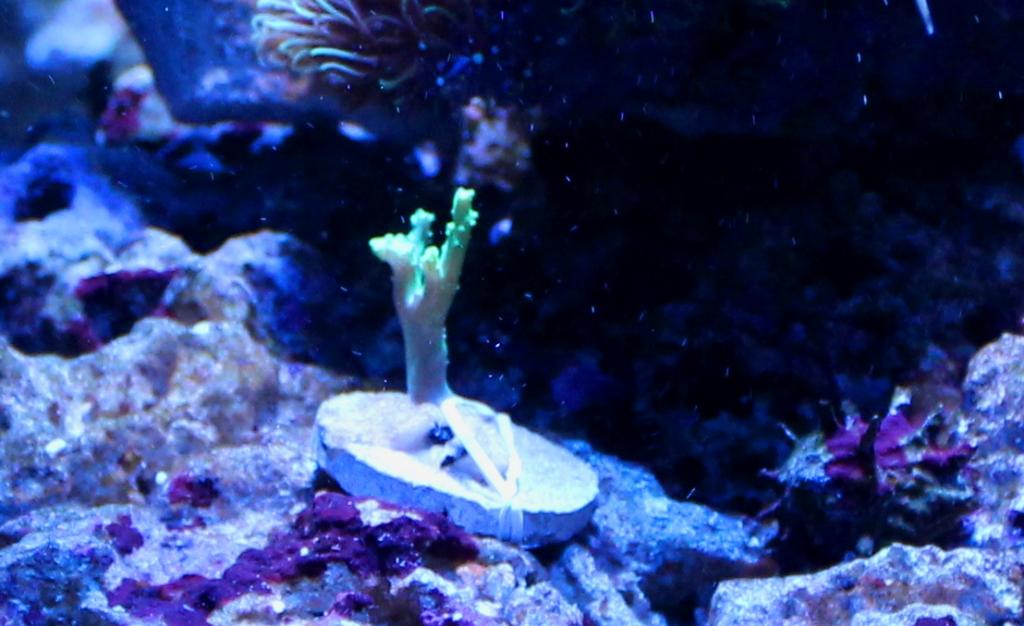
The below picture was taken 9 days after being fragged. The frag has already started to grow up-wards towards the light and looks like it is very close to becoming attached to the coral plug/
The next day after being fragged, the main leather has fully bounced back recovering from the process and looks to be in pretty good shape.