Building a Aquarium Canopy
I had a few requests to write up ideas with pictures of how to build a aquarium canopy.I thought I would just show and explain how I built some of the canopies that I have used in the past. The first two examples are based on a canopy that I had seen on a 190 gallon aquarium owned by a fellow hobbyist and friend.
Before building your canopy, I would recommend that you first have your lighting you are going to use on the aquarium. You will need to know how far above the aquarium you will want to use your lighting, how thick the lighting fixture is, and how long the lighting fixture is. Sometimes it is helpful if you can use your lighting on the aquarium for a while so you can try out the lighting and confirm how high you want the lighting from the top of the aquarium.
Canopy Example #1
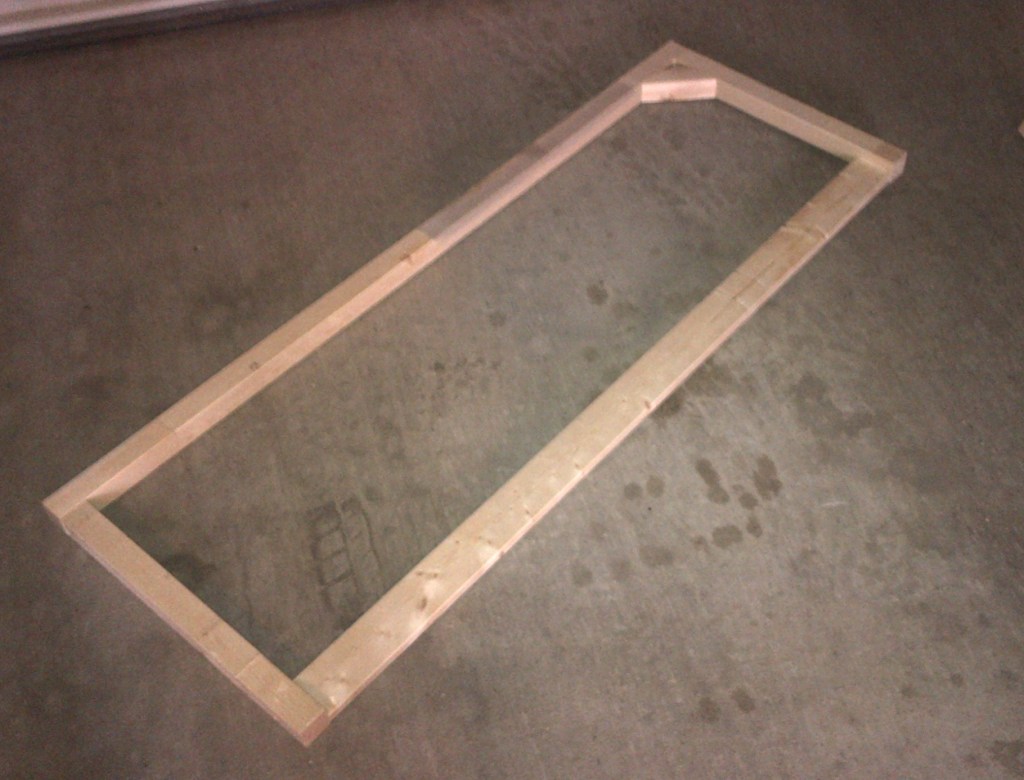
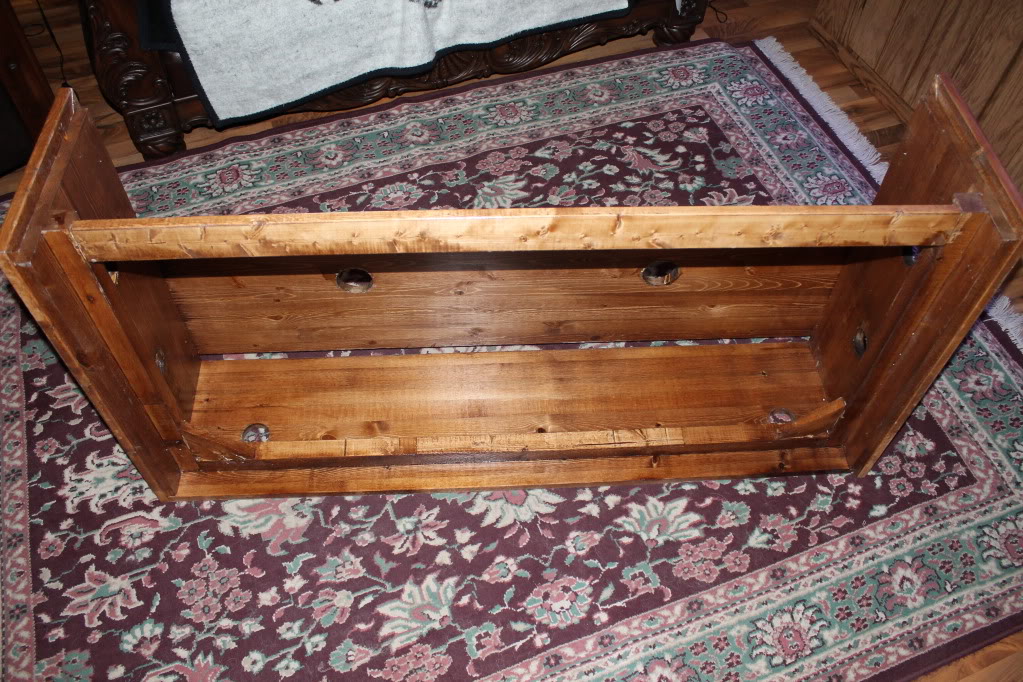
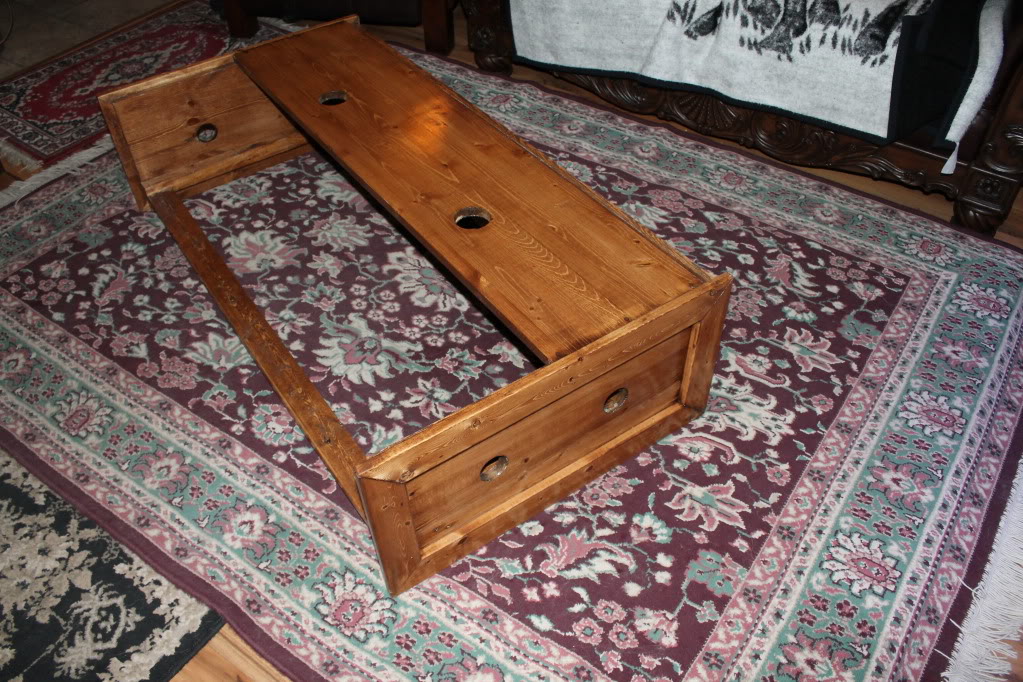
This first example is a canopy that I built for a four foot 90 gallon aquarium.I started by building the frame that sits on top of the tank. The outside measurements of this frame are the same as the outside measurement of the aquarium. My lighting will not be wider than the aquarium so I can use those dimensions for this build. I used 2X2 inch lengths of solid pine for the back and sides and a ¾ by 4 inch length of solid pine for the front.I used construction grade wood screws and generous amounts of wood glue to attach the frame pieces together.
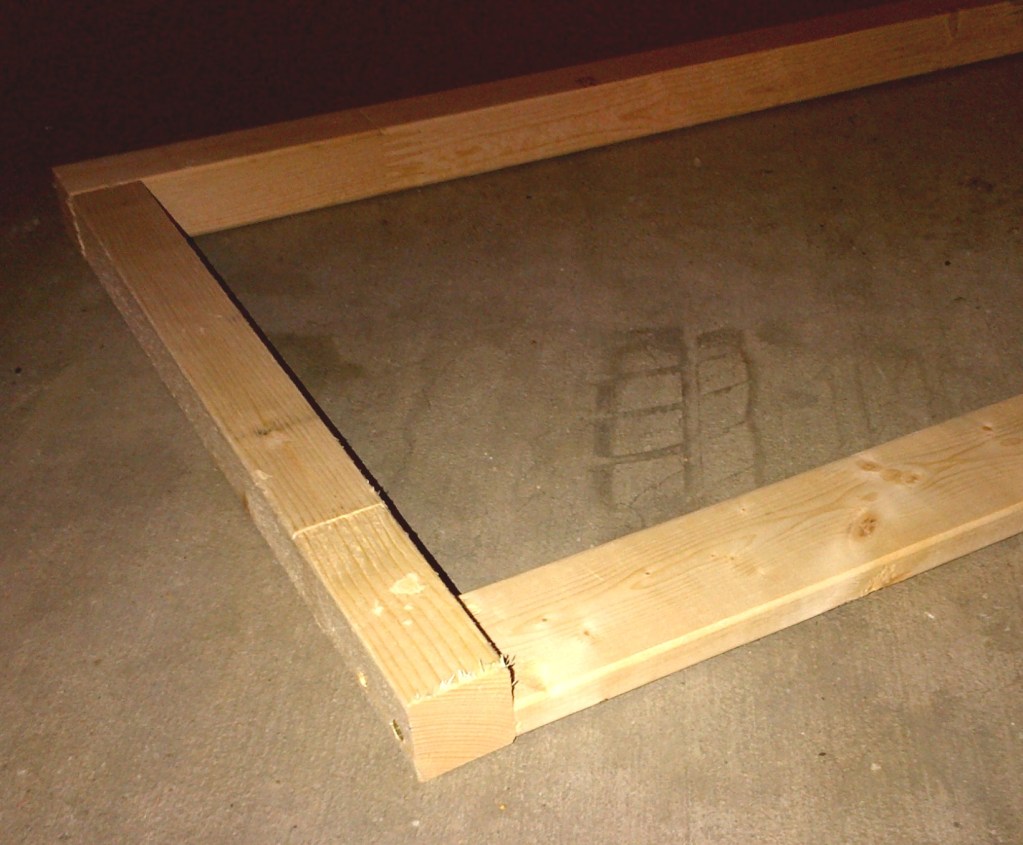
On this frame piece you will only see one angled support on the right hand side back corner.I could not add angled supports on both back corners as the aquarium has an internal overflow on the back left hand corner and I wanted to leave as much room as I could for access to the overflow. If the aquarium did not have an internal overflow, I would have added angled supports to both back corners
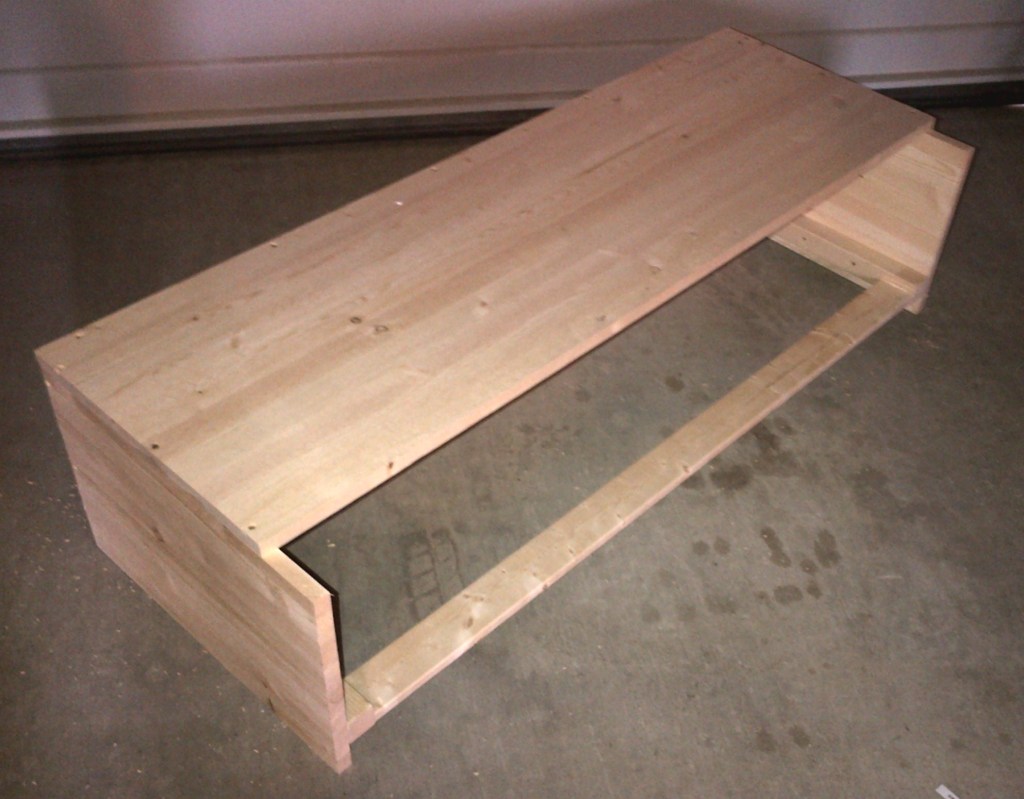
I then added the back piece to the frame (using wood glue and screws). The paneling that I used for this was ¾” solid pine. I pre-drilled holes for the screws to help ensure I did not split the wood. When working with wood 2 inches and less in thickness, I always prefer to pre-drill before using construction grade screws. When working with a softer wood like pine, you may not have to pre-drill your holes.This is just my preference
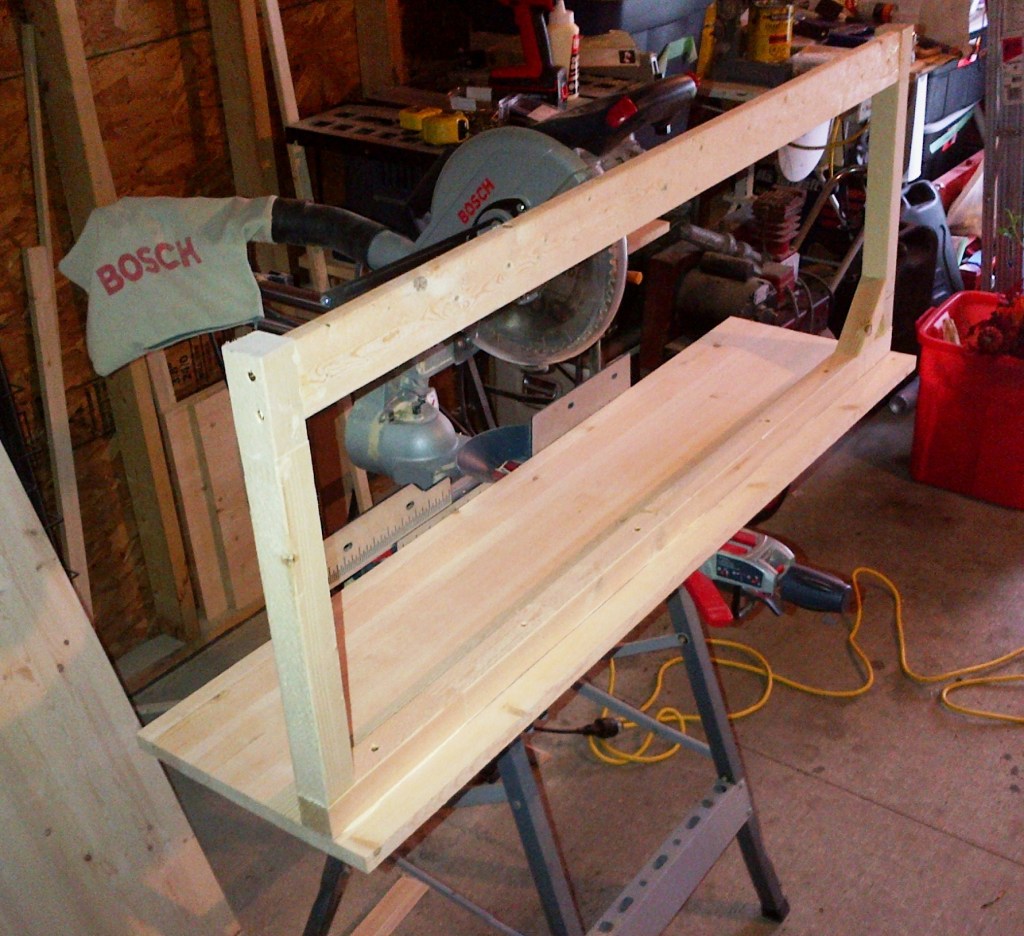
The sides were added next.As you can see from the below and above pictures, I attached the sides and back from the inside of the canopy and not from the outside were ever possible. That way, the screw heads will not be visible from the outside of the stand so I don’t have to spend as much time filling the holes to hide them later on. The back and side pieces also go 2 inches down past the frame to allow the sides and back to fit around the aquarium preventing the canopy from being accidentally knocked off the aquarium. This also covers the black trim of the aquarium giving it a nicer or at least a more consistent look
As I am using LED lighting I knew that I wanted to have them 6 to 8 inches above the aquarium, and the LED fixtures are 2 inches thick with 1 to 2 inch thick mounting bar (depending on the exact type that I choose to use). I left 10 inches of space above the frame to allow enough space inside the canopy for my lighting and air circulation around the lighting
That is why I used 14 inch wide boards for the back and sides: 10 inches of space above the frame, 2 inches of space for the frame, and 2 inches of space below the frame
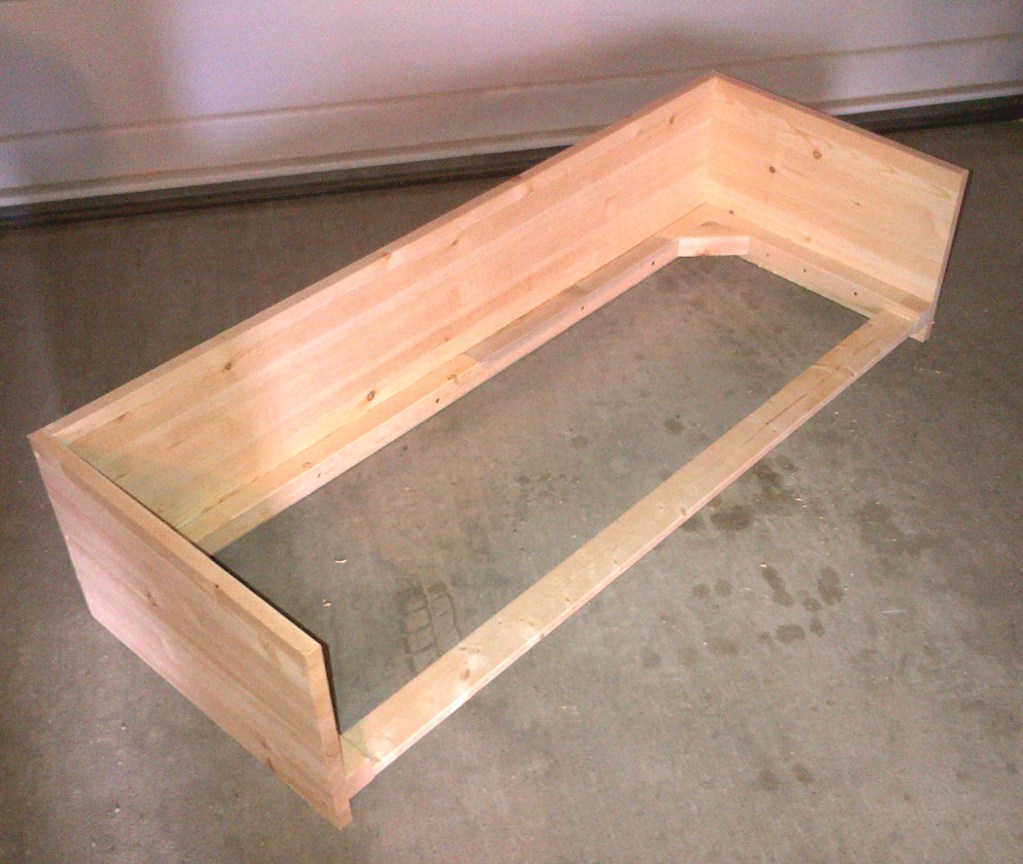
I then cut and attached a piece of wood that covered about 80% of the top of the canopy, leaving about 20% of the top open at the front.
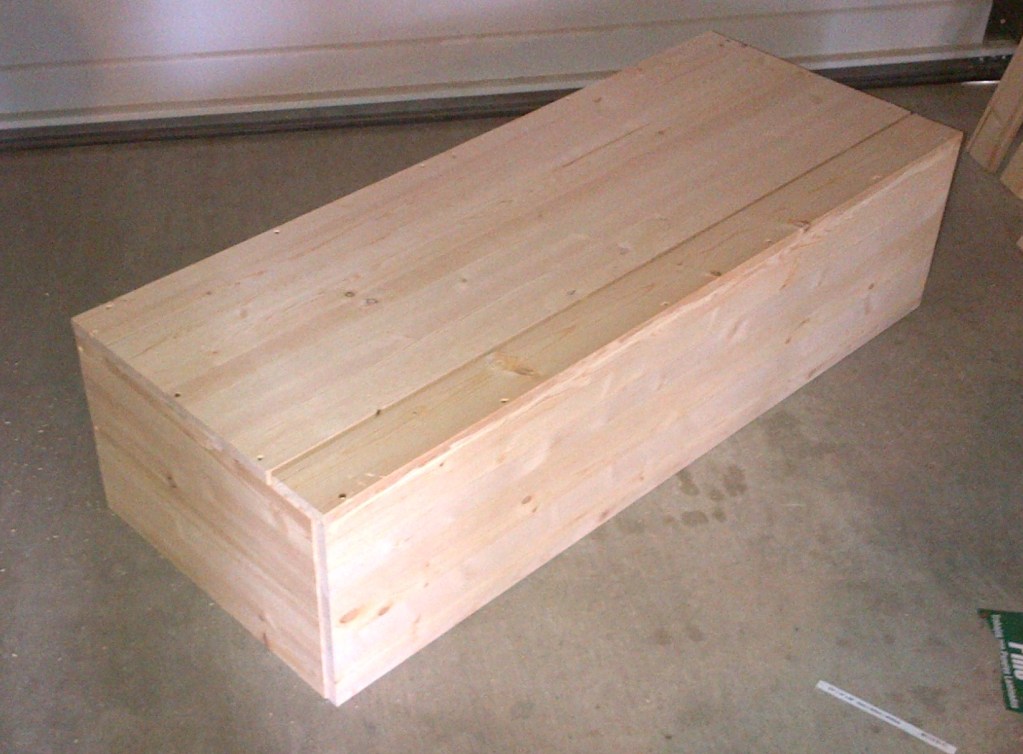
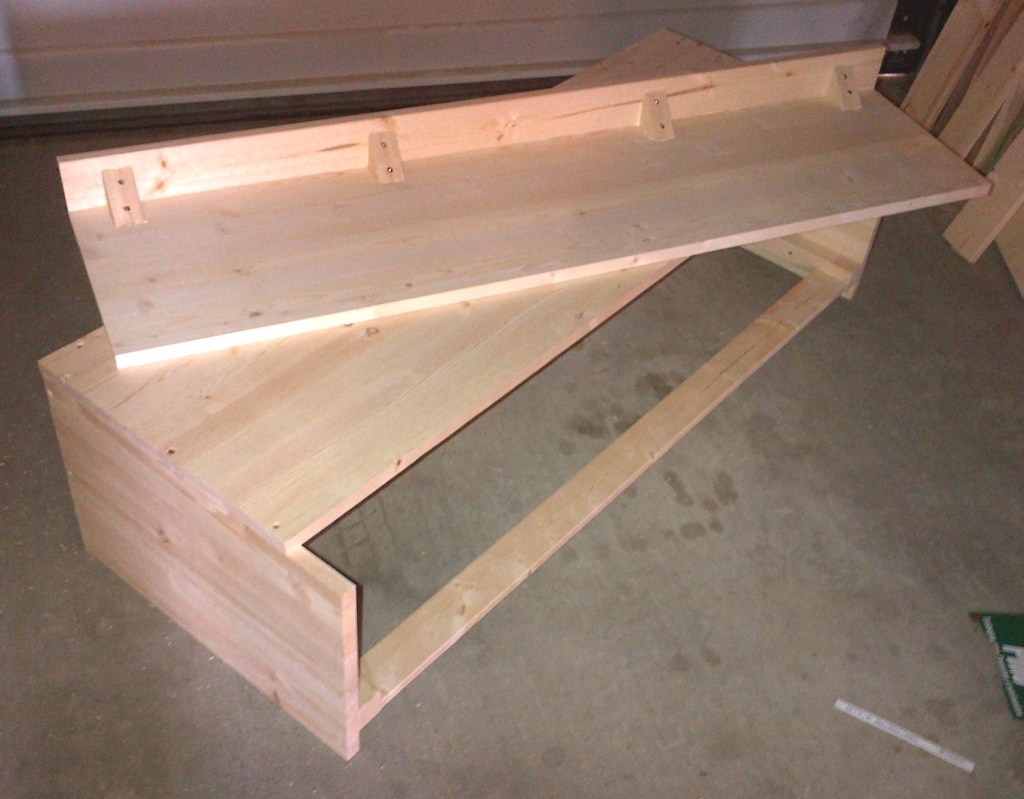
I built the lid next and dry fit it to make sure I got it right. I built an “L” shaped lid so the hinge will sit on the top of the canopy were it will be out of sight. The front of the door drops down 2 inches past the frame so it will match the sides and back of the canopy.
As you can see by the below picture, I used four angled supports to re-enforce the two pieces of the lid.
The next step was to drill the vent holes on the sides, top and back, and put in the rails for the LED mount bar I made. I also added a little trim to the sides to give it a little better look. The inside rails can also be used for a T5 light fixture as well. The second example that I have in this article shows these rails in better detail.
After some wood filler, two coats of a good quality primer & sealer, and 3 coats of a marine based paint, the canopy was complete. You can also use a very good quality primer and sealer followed by a very good quality exterior paint if you do not want to use a marine based paint. I had to let the paint cure before I put it on the aquarium. I painted the inside with the same black paint as I did not want to buy two different colors of marine paint
I chose to paint this canopy black so it would match the stand the aquarium was sitting on. I like to give my set-ups a more consistent look as well as matching with the rest of the furniture in the room, but that is just my preference. You can finish your canopy to suit your tastes.
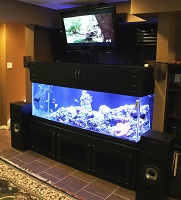
Here are a few pictures of the finished product.
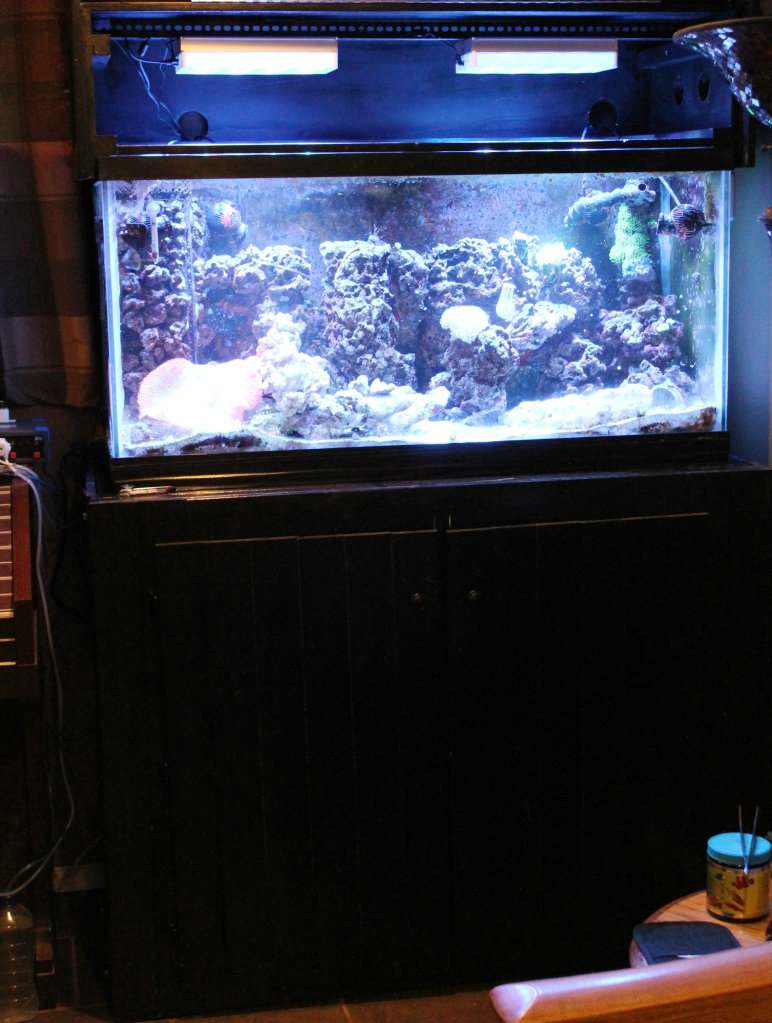
Canopy Example #2
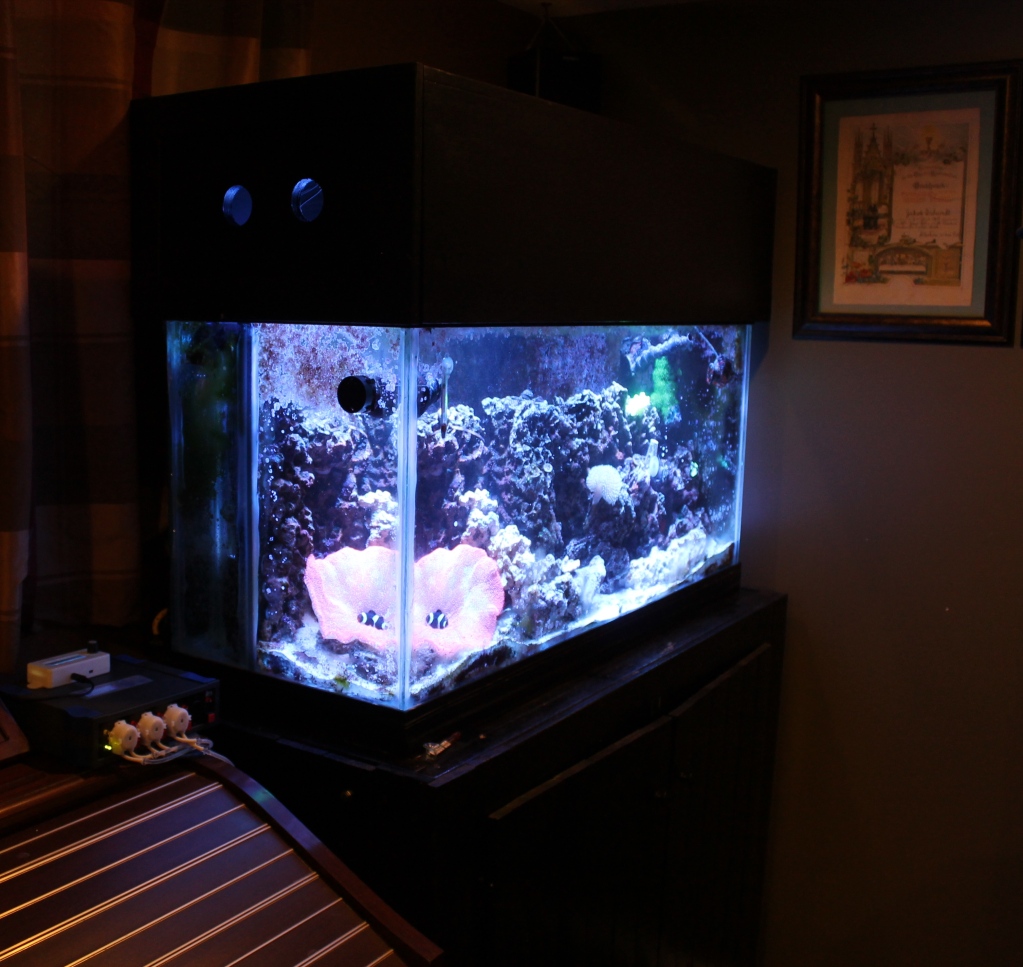
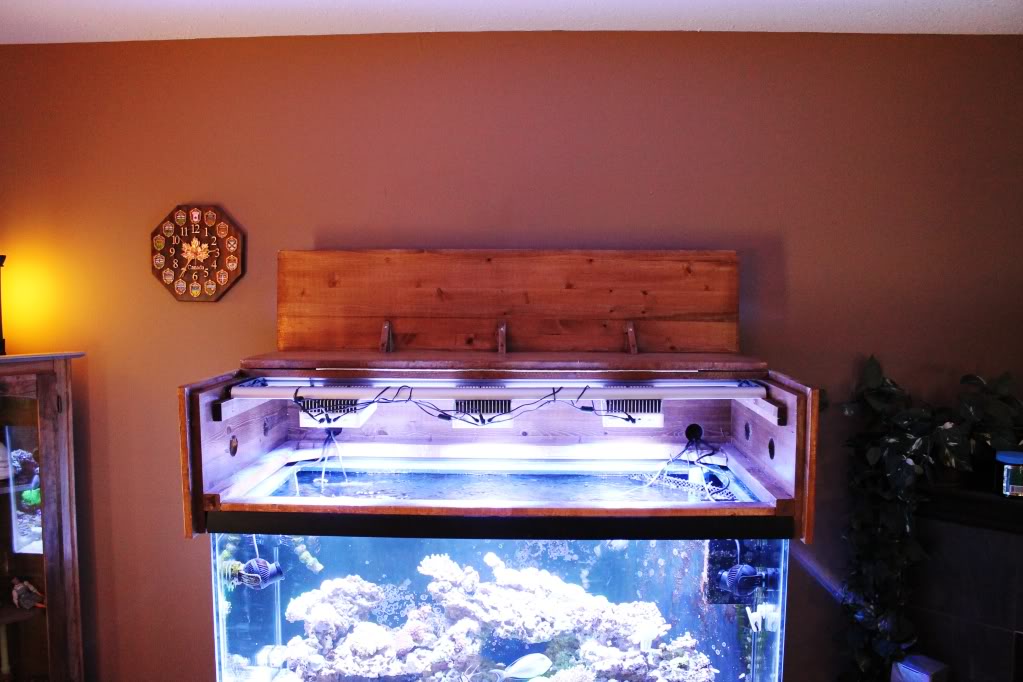
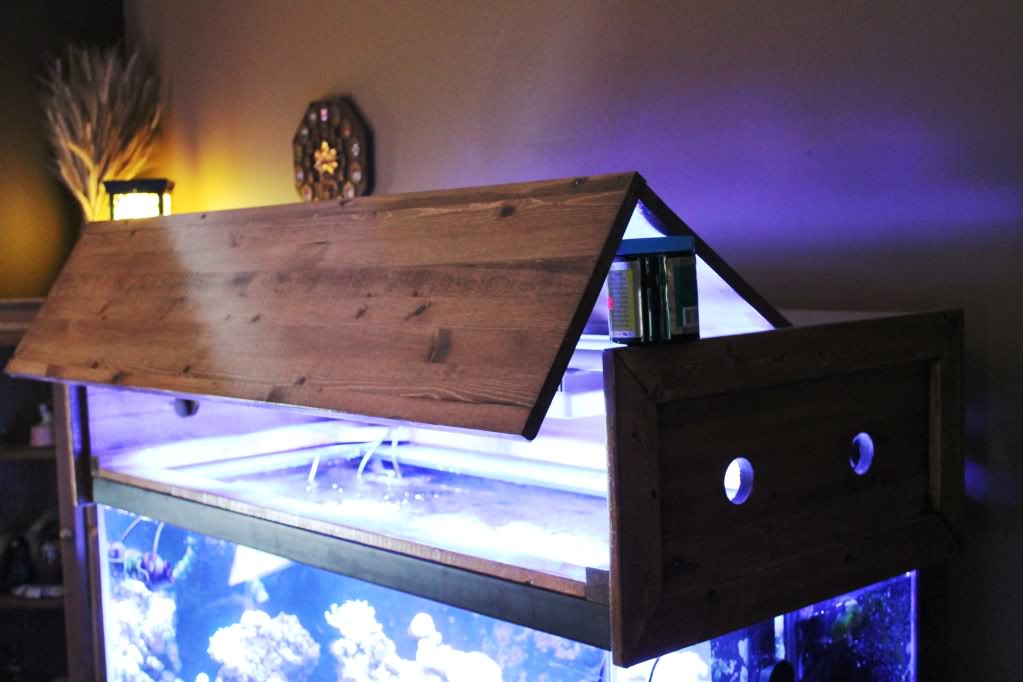
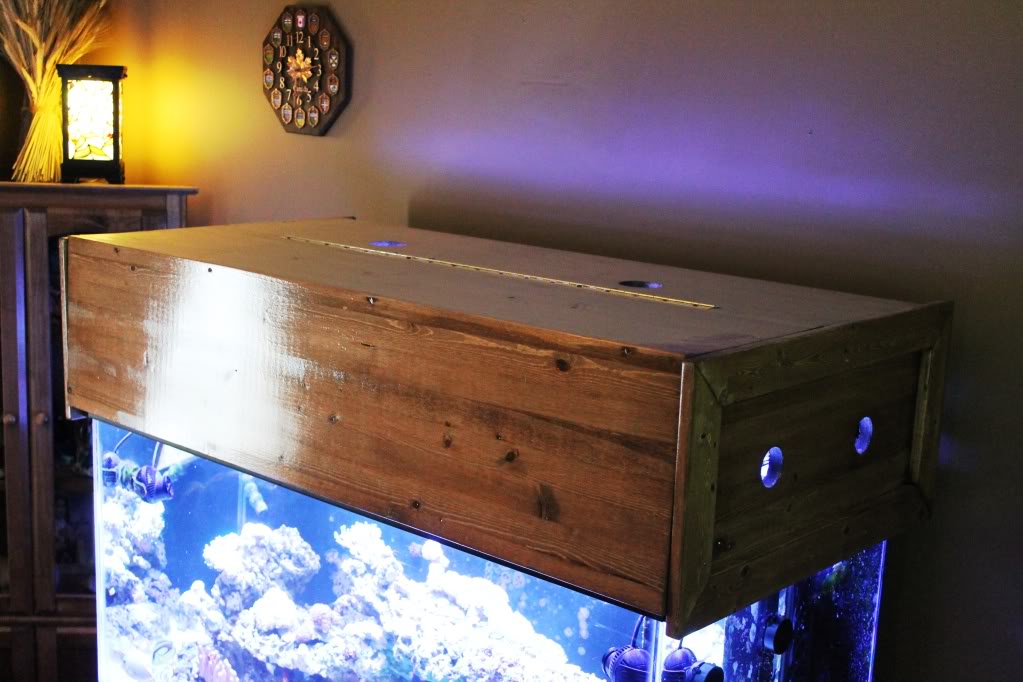
The second example that I am showing here is one that I built for a four foot 120 gallon aquarium that I have. I wish I had taken more photos while I was building it, but this will give you a pretty good idea. I followed the basic same design as the first canopy that I showed in this article. The biggest difference is that I stained and urethaned this canopy and extended the top of the door to the center of the top of the canopy to allow for more room to reach into the tank to complete routine maintenance when needed. The only drawback to this is that it makes the door heavier as compared to the door in the first example.
In these pictures you will see a little more detail on a few features not shown very well on the first example. I also drilled two air holes on each side of the back piece near the corner to run cables through for the poweheads, lighting, and what not. I made these holes a little larger than the rest of the air hole to make it easier when running cable through them. You can also see the vent holes that were drilled on the top of the canopy for additional air circulation.
Just as with the first canopy, I used the same thickness of solid pine and I glued and screwed everything together in the same way. I stained this canopy to match the stand and furniture in the room followed by several coats of urethane (4 or 5 if I am remembering correctly).
One of the last things that I had done was to add two pieces of wood on the inside of each side for the mounting bar of my LED lighting to sit on. You can also adjust the height of this wooden rail to allow for a T5HO fixture.
I had to make sure the angled supports on the back corners of the frame would not extend further past the top bracing of the aquarium or they would restrict my access to the internal overflow.You can also see the side trim pieces that I added to give the canopy a more finished look and to also hide any light that might come through around the door.
If you are using T5HO or MH lighting I would certainly recommend more and larger vent holes and possibly adding a built in vent fan or two. I would also design the canopy for extra space inside the canopy for better air movement to help the lighting stay cool. You will have to be extremely careful using MH lighting in a canopy due to the very high levels of heat produced by an average MH fixture. As I use LEDs in my canopies I do not need that many vent holes as they produce low amounts of heat.
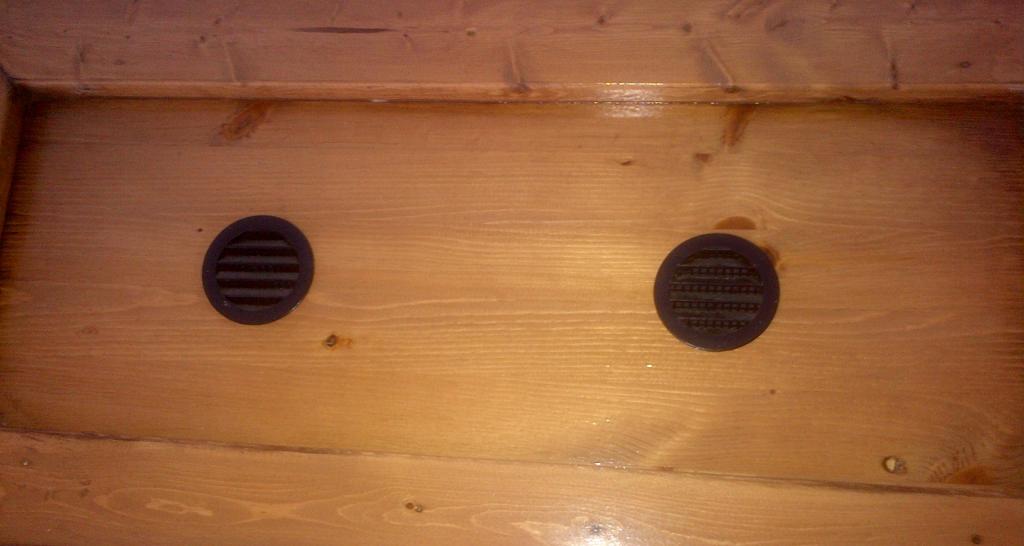
The below is a picture showing the air vent covers that I added to the sides once the store got more in. These can be found in most home improvement and hardware stores were they keep the roofing products.These vent covers are actually meant to cover roof ventilation holes in the soffits of most homes. I like using them on my canopys as they allow for very good airflow while preventing a lot of light from getting through.
Canopy Example #3
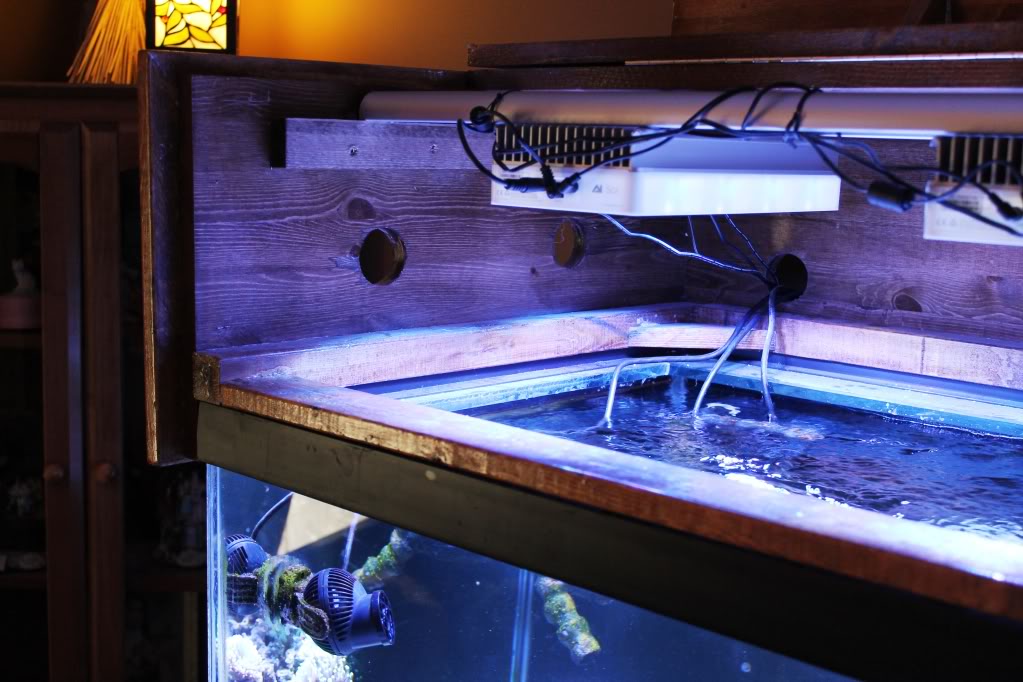
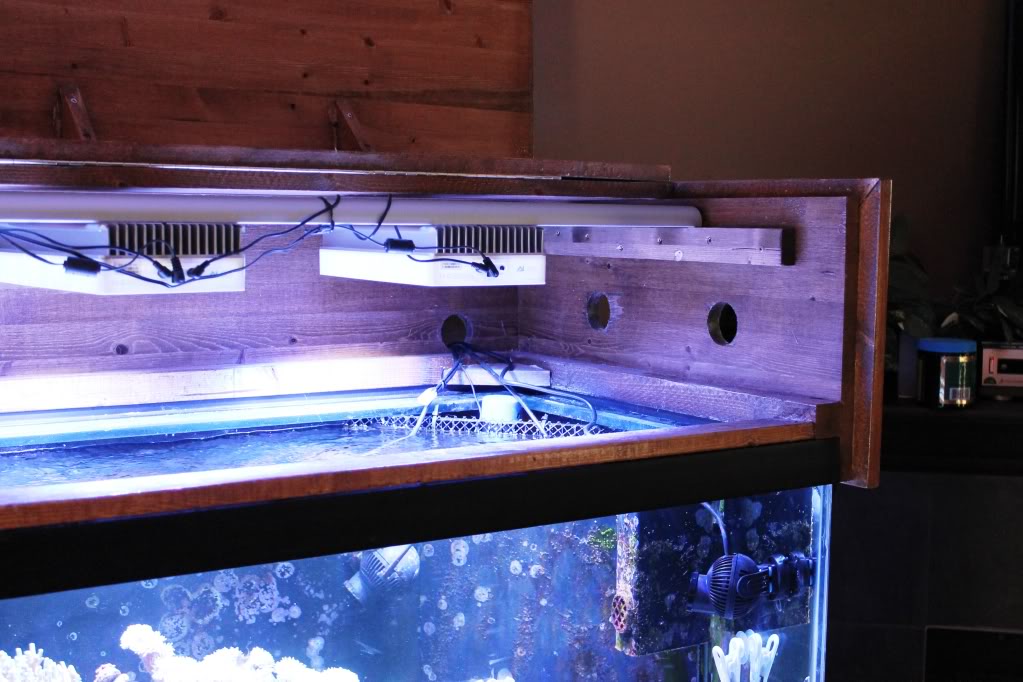
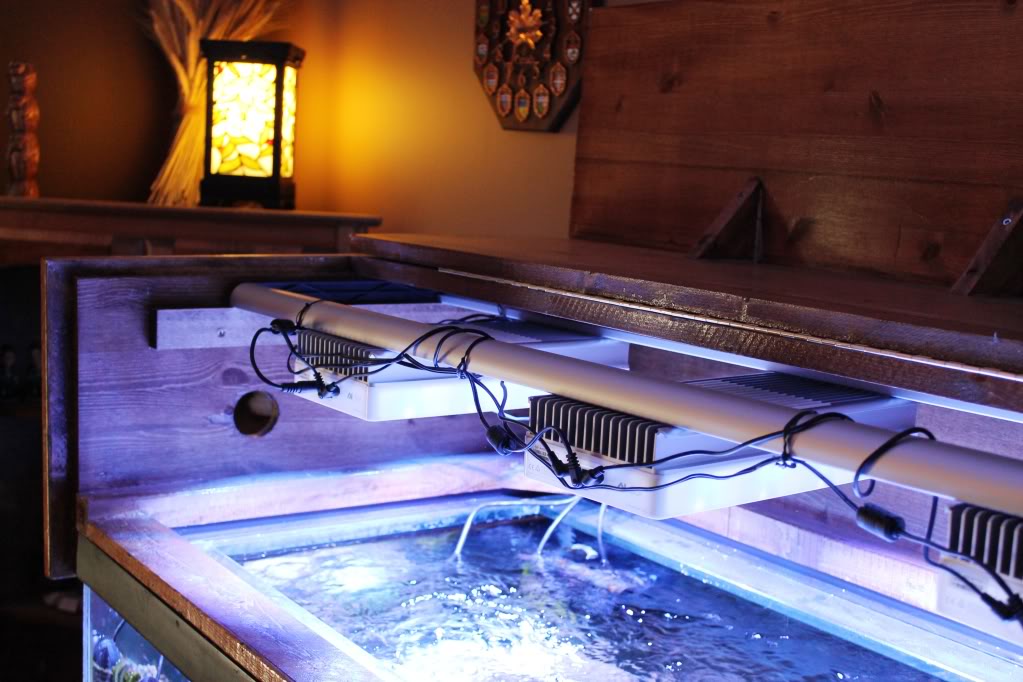
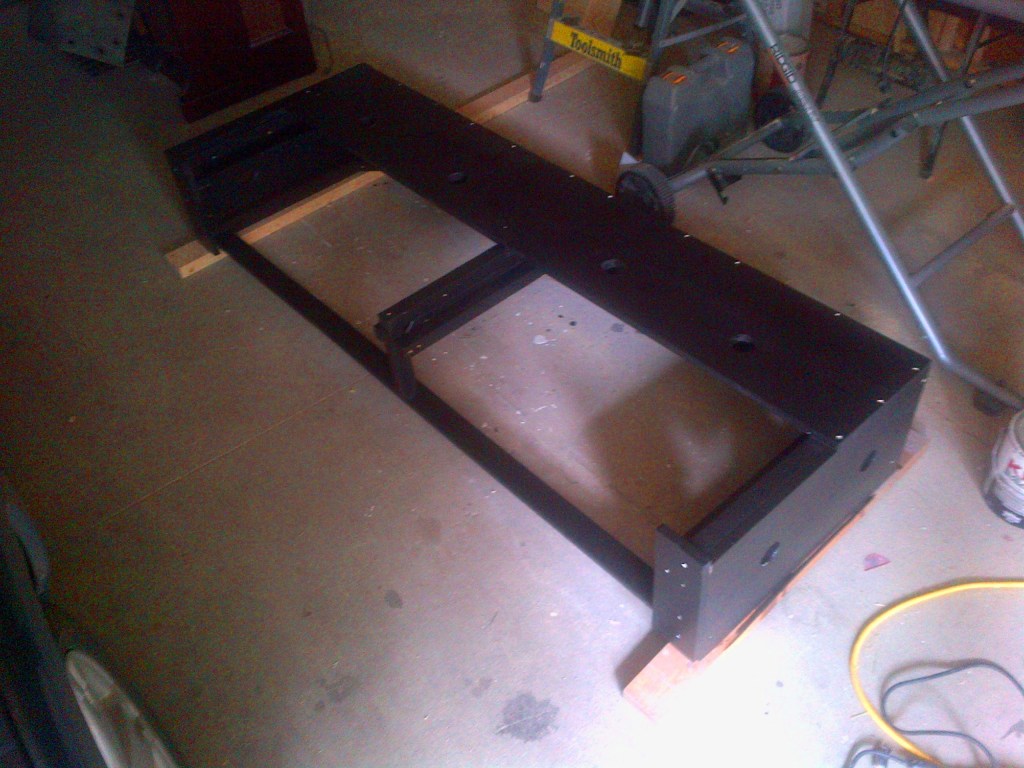
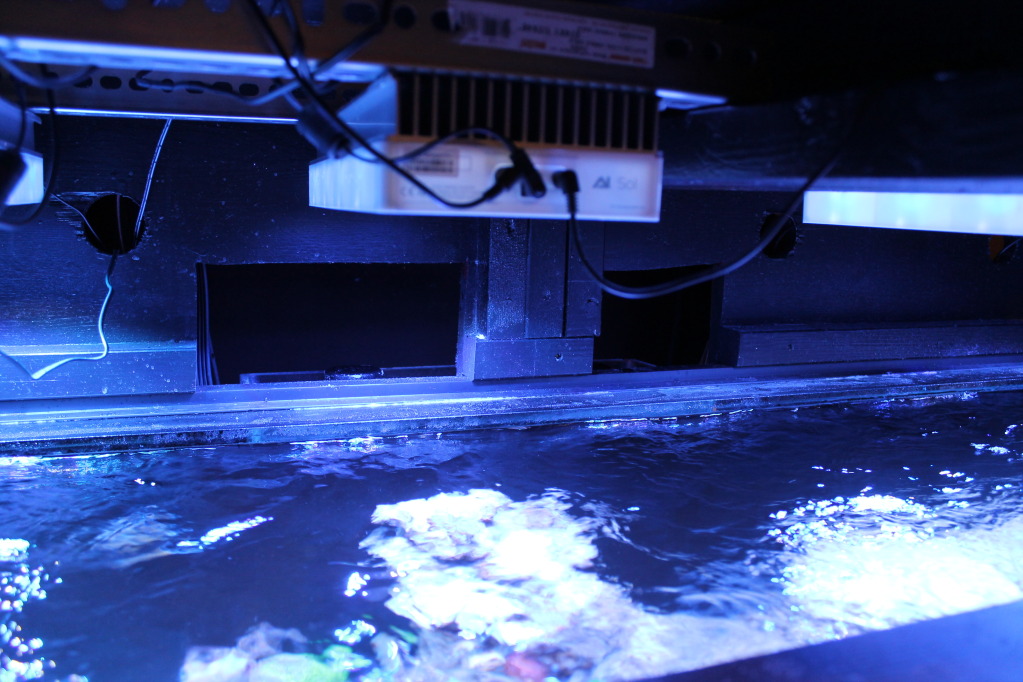
The third example is a canopy that I built for a six foot 180 gallon aquarium.The frame, sides and back were built the same as in the first two examples.I did add additional framing in the middle of the canopy to support the 6 foot span of the top of the canopy. As you can see by the below picture, I had added two sets of mounting rails as I was planning to use two sets of hanging bars for the LED lighting to be used on this aquarium.
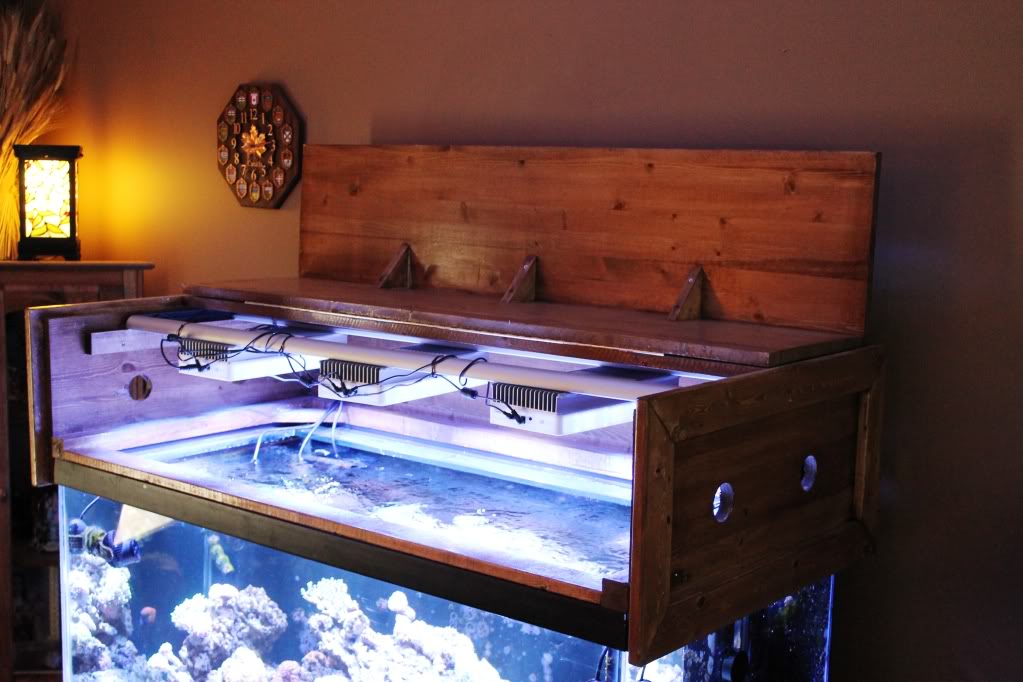
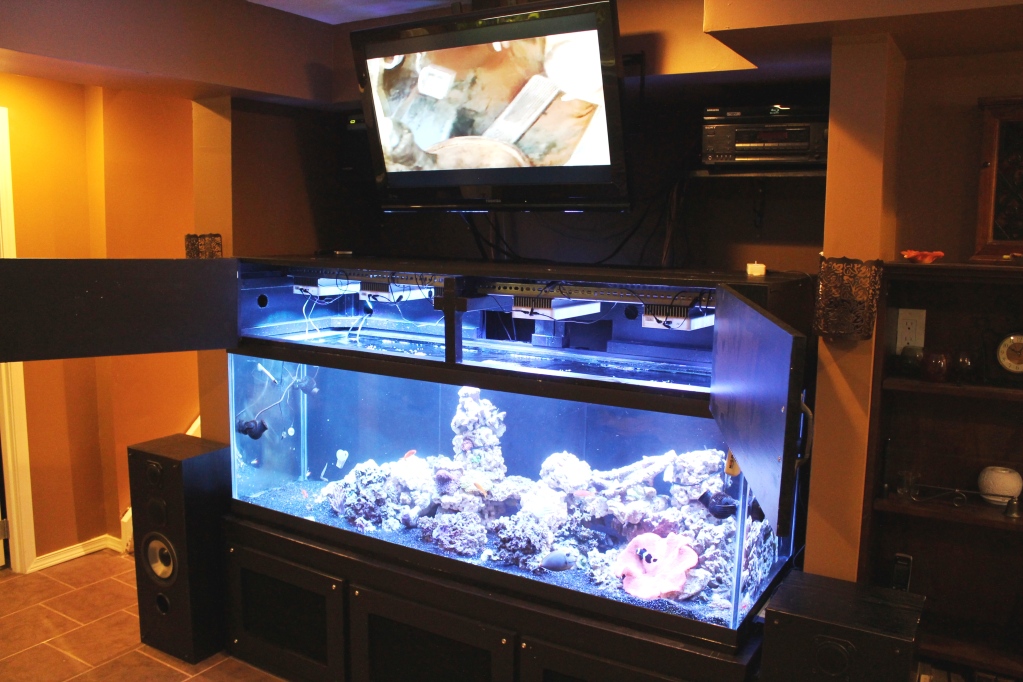
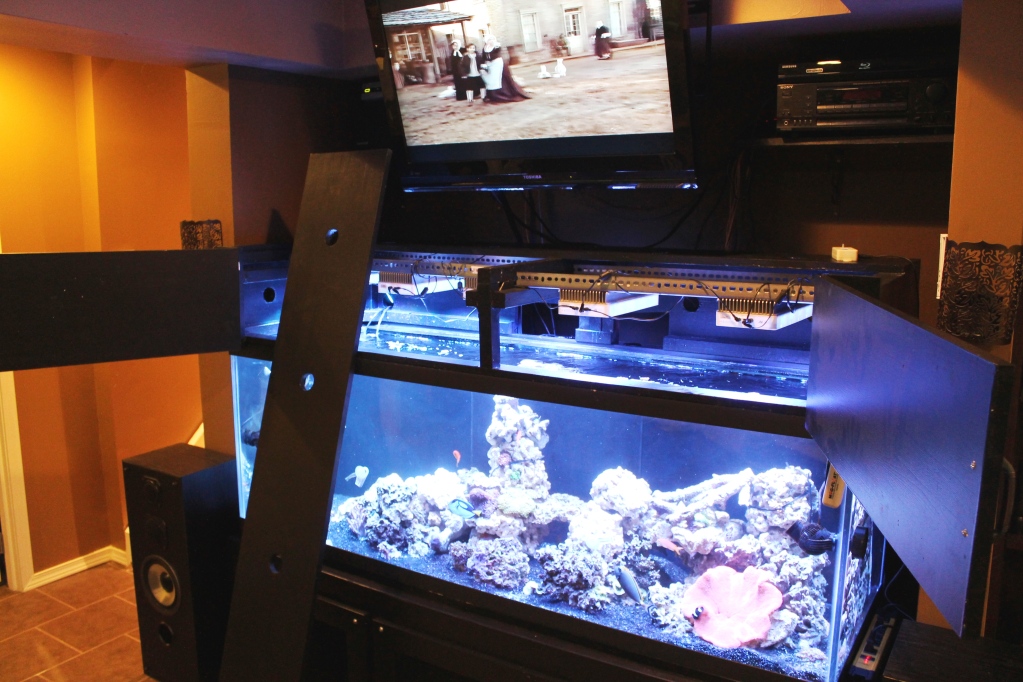
The biggest difference with this canopy is that the doors open out from the center of the front of the canopy and are hinged on each side of the front. The top piece that sits in the opening pictured in the above picture is not actually attached to the top of the canopy making it removable for easy aquarium maintenance when required.The below pictures better illustrate what I am talking about.

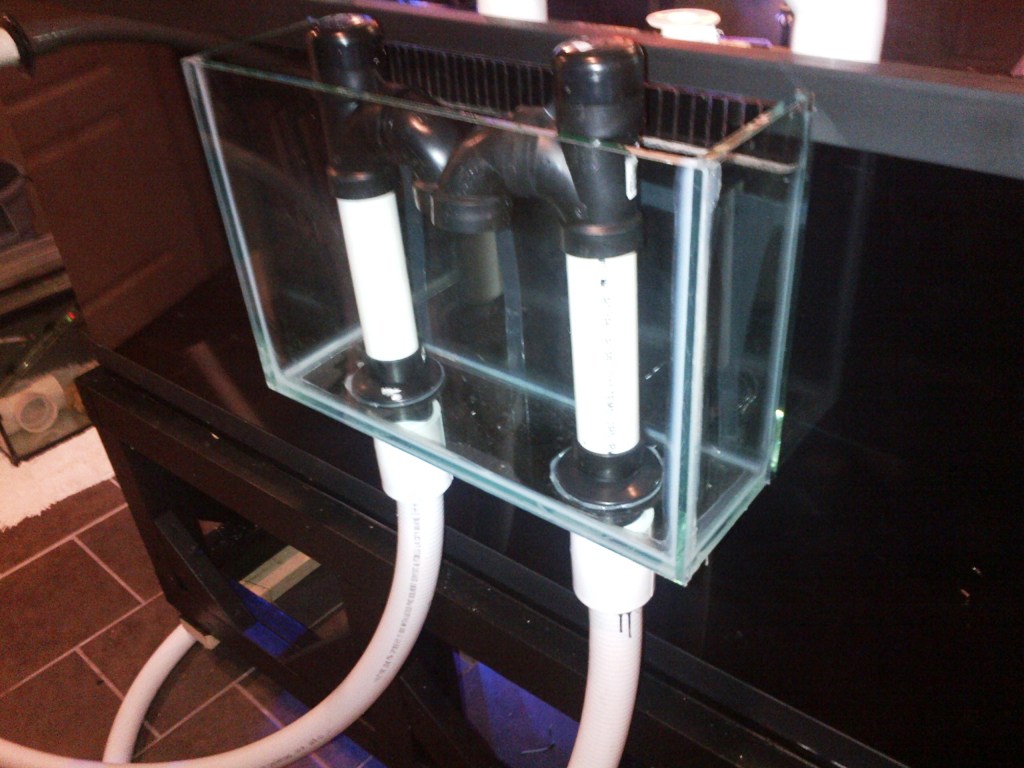
As this aquarium has an external overflow on the back of the aquarium, I had cut out two access holes in the back of the canopy above the overflows for easier access/maintenance to the duriso stand pipes in the overflow without having to remove the canopy to get to them. I had cut this out after I finished building the stand to make things a little easier
Cliff,
“The below is a picture showing the air vent covers that I added to the sides once the store got more in. These can be found in most home improvement and hardware stores were they keep the roofing products.These vent covers are actually meant to cover roof ventilation holes in the soffits of most homes. I like using them on my canopys as they allow for very good airflow while preventing a lot of light from getting through”.
Can I ask which home improvement store? having a hard time locating.
Regards,
Andrew
That would depend on where you are. In the USA, Lowes and Home Depot whould carry all those materials. In Canada, Lowes, Home Depot, and Rona’s would all have it.
These are great! I plan to build my own for my 180. Was wondering whether it’s safe to seal the interior. It appears so with your urethane example. I was contemplating painting the interior white, to reflect more light into the tank, then urethaning over that. Do I need to take any precautions to make sure its a safe product to put on the wood over the open tank?
Also was wondering, do you see a decrease in evap rates with the canopies? I’m blowing through top off water, trying to lower evap rates while maintaining oxygen exchange at the surface.
Thanks for putting these up!
I would suggest to either use a good quality primer and paint, or, stain and urethane. That would work best in my experience
Yes I did see a decrease in evaporation once I started using a canopy, but it was not a big decrease. If you are using lighting that produces a lot of heat, you may need extra ventilation within your canopy to keep the temperatures lower and more air movement means increasing evaporation.
Thanks, this is very helpful information. Did you include any fans in the canopy for forced circulation, or are the vents alone enough to keep it cool in there?
Thanks Lisa. Seeing as I have LEDs, the vents are enough
What is a weight limit on a canopy for a 125gal.
I would stick to a max of around 40 lbs, less if you can
I can’t find black soffit vents, only white ones. Did you paint them?
Yes, I gave them a like sanding and spray painted them to match
Thanks
Just came across these plans. Would love to see more details on the last canopy design as I’m building one for a 125 gallon tank. More information on how you incorporated the doors is what I’m interested in as it’s a bit different than the other 2 you built..
This is great stuff. I especially like the L shaped door. Great application for my 55. This is a good escape from constantly building nothing but furniture in my shop. Looking forward to this. Have a great day sir.
Thank you:
Chuck
What is the best wood to use,?
I like using solid hard wood or solid pine
I that safe to put a overhead filter tank (12″ x 12″ x 72″), around 500lbs weight on top of a 180 gallon aquarium (24″ x 24″ x 72″)? Directly on top of the aquarium and sitting on 2 short side 12″ and one long side 72″. The aquarium only have 2 standard black plastic middle brace and plastic lip on perimeter on top and bottom. Please advice.
I would not put that much weight on top of a 180 gallon tank. Too much room for error, too much could go wrong.
Hey cliff! I know this is an old thread but I’m taking on the challenge to build a canopy for a 6ft 220, do you find you like the doors that open outward with the removable top portion better than the classic lifting hood? I’m trying to decide which opening method to go with!
Also what should the max weight be to make this canopy? Thanks!
For me it depends on the depth of the tank. If it is a deep tank i will have trouble reaching the bottom with my hand, I prefer the flip open top canopy.